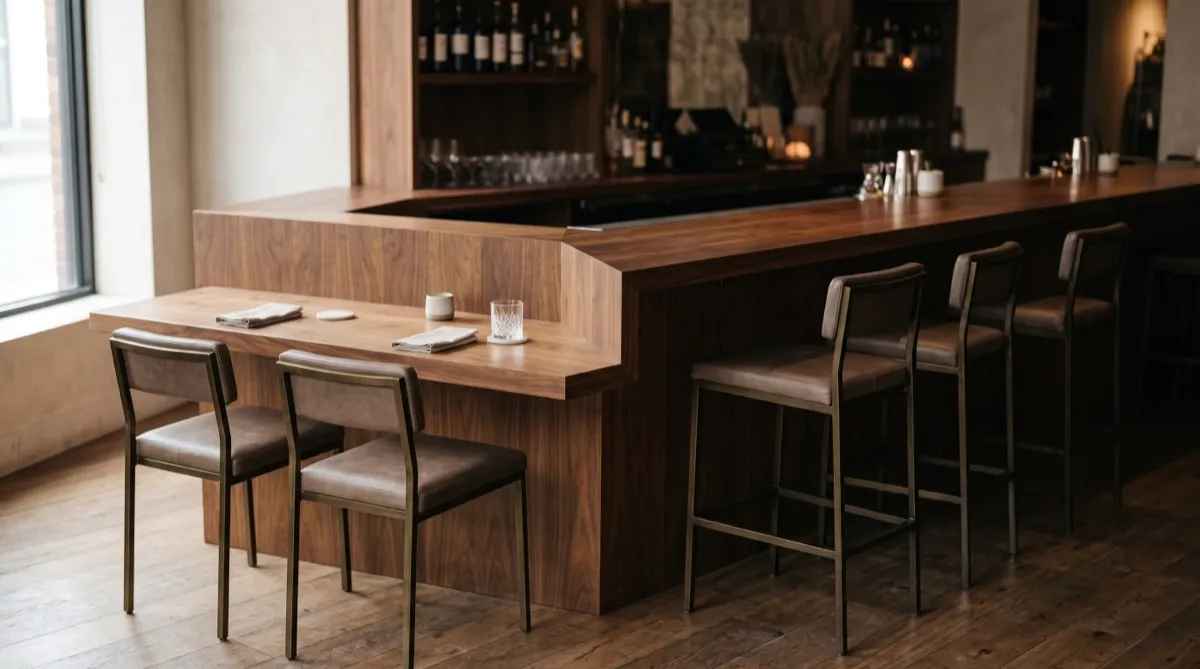
A window bar or drink rail is the cheapest capacity increase available to a cafe or fast-casual room, and most operators underuse it because they treat it as decor instead of seating. Done right, a counter along a window wall or perimeter ledge absorbs the solo diner, the laptop worker, and the party of two who'd otherwise wait for a four-top, without adding a single square foot to the room. This post is about the counter program itself, one piece of the broader restaurant furniture picture: ledge sizing, stool selection, and the economics of running one well. For the barstool construction spec that applies to any of these stools, our barstool buying guide covers frame gauge and joinery in depth; this post covers where and how deep to build the counter around it.
Ledge depth and overhang minimums
A window bar fails or succeeds on ledge dimensions before it fails or succeeds on stool choice. Too shallow and the counter can't hold a plate and a drink without crowding; too deep and it eats floor space you needed for circulation.
Use the 12-inch counter depth and 15 to 16-inch meal-depth range as starting examples for a full-size mock-up, not universal minimum dimensions. Likewise, the 8 to 10-inch overhang example does not establish accessible knee/toe clearance. Test the actual place setting and selected stool, then have the designer check applicable access requirements and the top manufacturer's approved supports and spans. Do not rely on window glass or an unverified sill as structural support.
Spacing along the counter matters as much as depth. Budget 24 inches of linear counter per seat as a minimum, 26 to 28 inches if your concept serves full plates rather than just drinks and small plates. Crowd stools tighter than that and guests end up elbow to elbow with strangers in a way that reads as a design failure rather than an intentional communal choice.
Stool selection: bar height versus counter height
For a first fit study, compare a 36-inch counter with a 24 to 26-inch seat and a 42-inch rail with a 28 to 30-inch seat. Those example combinations give top-to-seat differences of 10 to 12 inches and 12 to 14 inches respectively; the usable thigh gap is smaller when a thick top or apron projects below. Measure the actual underside and seat, and test the pairing before ordering. Our bar height versus counter height guide covers the measurement logic.
Check the footrest against the selected stool's seat height and the user's reach. A reference to a 30-inch seat does not by itself establish the correct footrest for either a 36-inch counter or 42-inch rail. Test a sample in place. Swivel seating may help guests turn toward the room, but check the rotated chair envelope and adjacent circulation before selecting it.
The solo-diner economics nobody puts in a proforma
A four-top seated with one guest is a table earning a fraction of its potential covers for that turn. A counter seat costs the same to staff and serve but never creates that mismatch, because it was never sized for more than one or two people in the first place. Every solo diner or pair you route to a window bar instead of a standard table is a four-top freed up for a party that actually fills it.
This matters most during shoulder hours, the stretch between peak meal periods when solo diners and small groups make up a larger share of covers than during a packed dinner rush. A cafe or fast-casual concept that routes solo traffic to counter seating during those windows keeps its table inventory available for larger parties without turning anyone away, effectively increasing total capacity without adding a single seat to the room's total count.
Power access for daypart-driven concepts
Cafes and any concept with meaningful laptop-and-coffee dwell time need to treat power access as part of the counter spec, not an afterthought bolted on after the furniture arrives. A window bar without outlets pushes laptop guests toward whatever seat happens to be near a wall plug, which defeats the purpose of building dedicated counter seating in the first place.
Plan outlet or USB access into the counter build itself, spaced to match your stool intervals rather than clustered at one end. This is a construction and electrical coordination point more than a furniture one, so loop in your GC or electrician early enough that conduit routing happens before the ledge is finished, not after. The furniture itself, stools and any small counter-mounted accessories, should be selected with that outlet layout already confirmed so nothing blocks access once installed.
Planning the counter into your total seat count
A window bar or drink rail should factor into your overall capacity planning the same way any other seating zone does, not as a bonus that's separate from your core numbers. Run your full seat count, including counter positions, through our restaurant seating capacity calculator or work through the layout with our space planning resources before finalizing quantities, so the counter's contribution to total covers is accounted for rather than treated as incidental.
If your concept also runs a sidewalk or patio component, the same solo-diner and daypart logic extends outdoors; see our cafe and sidewalk furniture guide for that layer of the plan.
Browse counter-stool concepts for the design brief. Submit a furniture request with actual top/underside heights, usable ledge length, tested spacing and daypart use. Independent suppliers may confirm available models and separate seat/footrest dimensions; a concept image does not verify commercial-use testing or fit.